# How to Draw a Fence
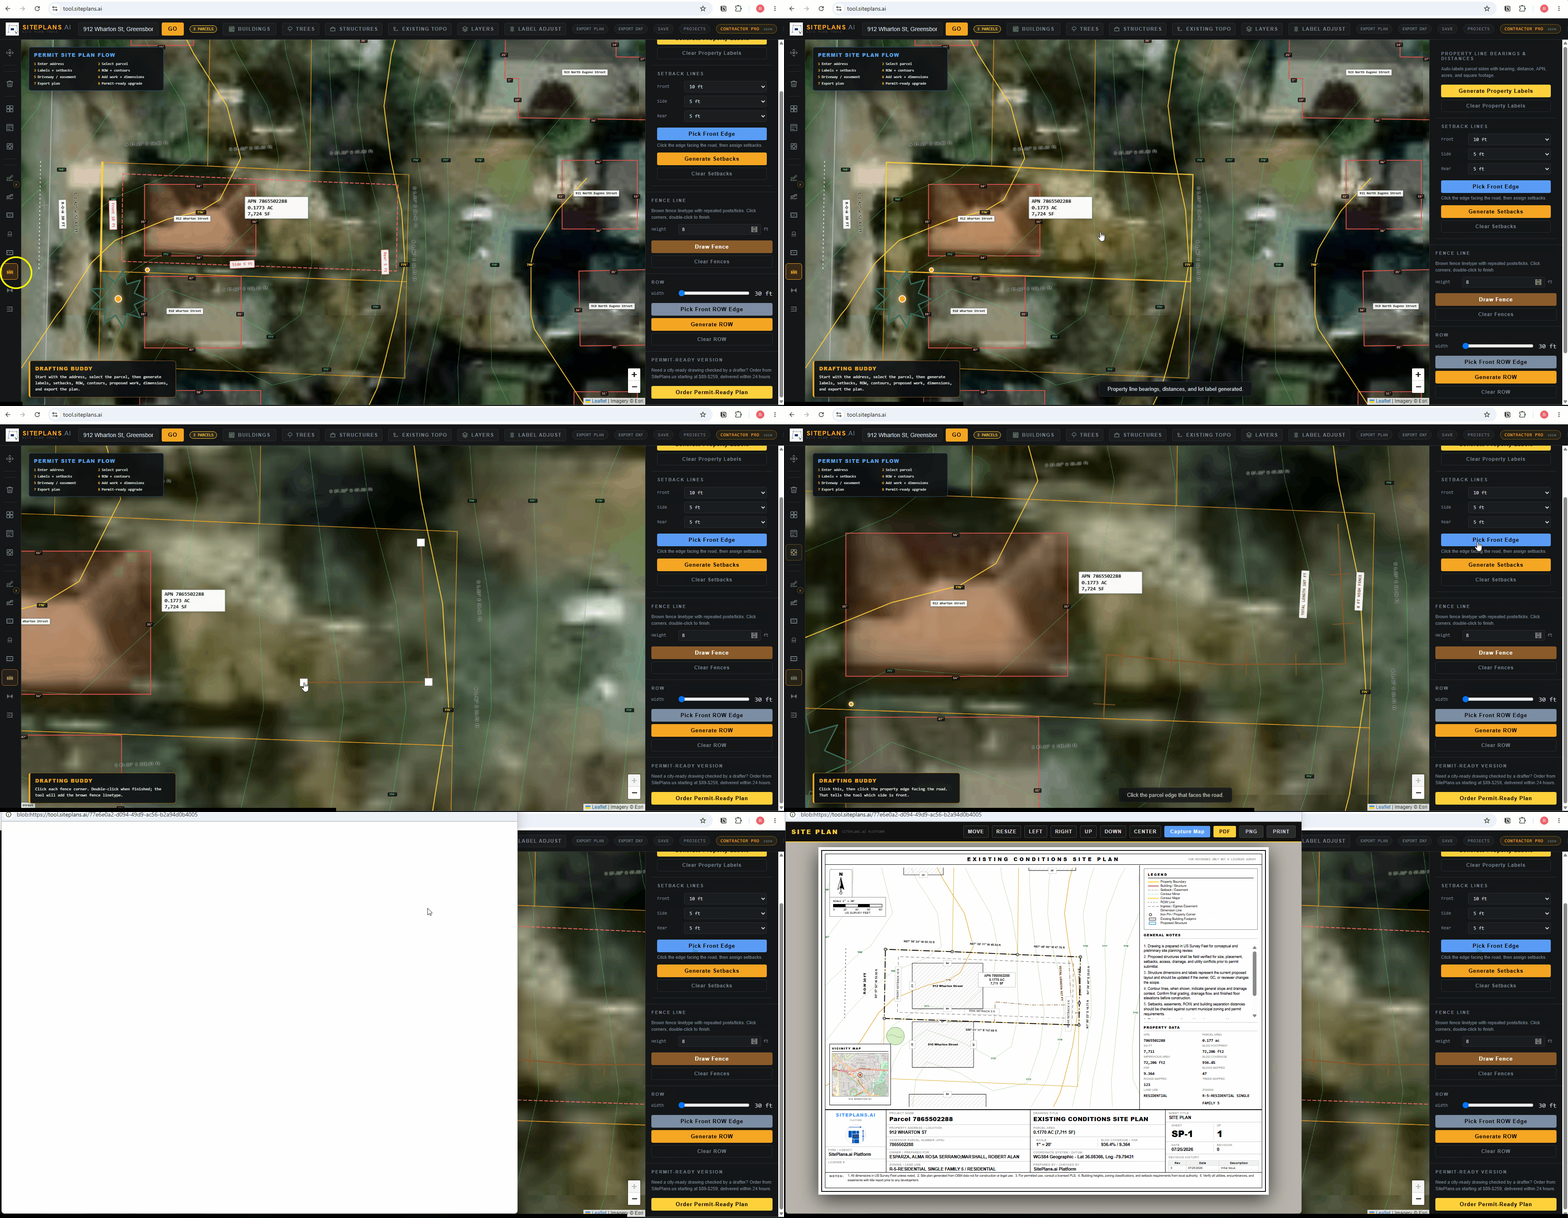
Fence lines are drawn directly on your plan, with height set before you draw and the total length calculated automatically as you go.
Quick Answer
Select the fence tool, enter your fence height, and click to draw the proposed line — adding turns wherever the fence changes direction, and clicking again to finish.
Step-by-Step
1. Select the fence tool.
2. Enter the height. Set this before you start drawing — for example, 4 feet instead of the default.
3. Click your starting point for the proposed fence.
4. Draw the path. Add a click at every turn or corner where the fence changes direction.
5. Click to finish. The total length label generates automatically along the drawn path.
When to Use This
Any fence permit or project where the proposed fence line needs to be shown with accurate length and height — most cities require this level of detail on a fence site plan, not just a general area marked off.
Common Mistakes
Setting the height after drawing instead of before — set it first so the label reflects the correct height from the start.
Not adding a click at every turn — a fence with corners needs a point at each direction change to draw accurately, not just a straight line between start and end.
FAQ
Can I add gate locations on the fence line?
Yes — use the description or notes fields to note gate placement and width alongside the drawn line.
Does the length label update if I redraw the fence?
Yes — it recalculates automatically based on the actual path drawn.
Can I add material or type notes?
Yes — use the right panel's description field for fence material and type details.
Related Tools
Start Here
Create My Site Plan — Need help? Get support from SitePlans.us →